When I hear the words Easiest Apple Pie I think it would take just a few minutes to prepare and then pop in the oven and, ta-dah, it’s done... well that was the case, for the most part.
My son Tyler, who is almost 4 years old, helped me with most of this pie. We first rolled out the store bought crust and put it in a 9 inch pie pan then popped it in the freezer. While the crust was in the freezer, Tyler and I worked on the filling. I have noticed that each of the recipes, so far, ask you to freeze the crust for 15 minutes while you are working on the filling. The recipe called for a tablespoon of freshly squeezed lemon juice. So while squeezing the lemon for the tablespoon of lemon juice, I told Tyler to cover his eyes, in a joking matter, and wouldn’t you know it the lemon juice squirted right in his eye. At first he just laughed so I thought it missed his eye, but within seconds he felt the sting of lemon juice in his eye and he was not happy at all. After he recovered, we continued to mix in the ingredients of 1 chopped apple, a can and a half of apple filling, sugar, raisins and cinnamon. We put in the filling in the crust from the freeze and then I put the pie in the oven. I will say, although the recipe called for a 9 inch pie pan, I would recommend using a 9 ½ inch pie pan. I followed the recipe to the T and the filling still seemed to be packed too full, without the top crumb crust.


While the pie was cooking it was time to do the topping. The topping was a crumb topping which I am finding are not that hard to make. The key to a good crumb topping is to not over-process the flour, sugar and butter. I guess I got a little too food processing happy and processed it for too long. By doing that it caused the crumbs to be too “crumby”. After the pie cooked for about 30 minutes it was time for the crust. I poured the crust on the pie and knew that the pie might not turn out like I had planned. When looking at the crust you could not tell it was supposed to be a crumb crust; but, It looked like someone just dumped a mixture of sugar and flour on top of it. I was almost sure the pie would boil over.


After waiting the required time of 25 minutes, with no boil over, I tried to take the pie out and here is where pie handles on the pan would come in handy. I did not have much to grab onto, so yeah… the pie almost fell, but I caught it at the cost of cracked and messing up the pie crust. So unless I can’t avoid it, I will be using pie pans with handles to avoid that from happening again. The crust was nowhere near being done, so I put it back in the oven for another 10 minutes, then another 10 minutes and then again for for 10 minutes. After about 30 minutes of extra cooking time to get the crust done, while being positive the bottom crust would be toast, I called it quits on the pie and took it out to cool.
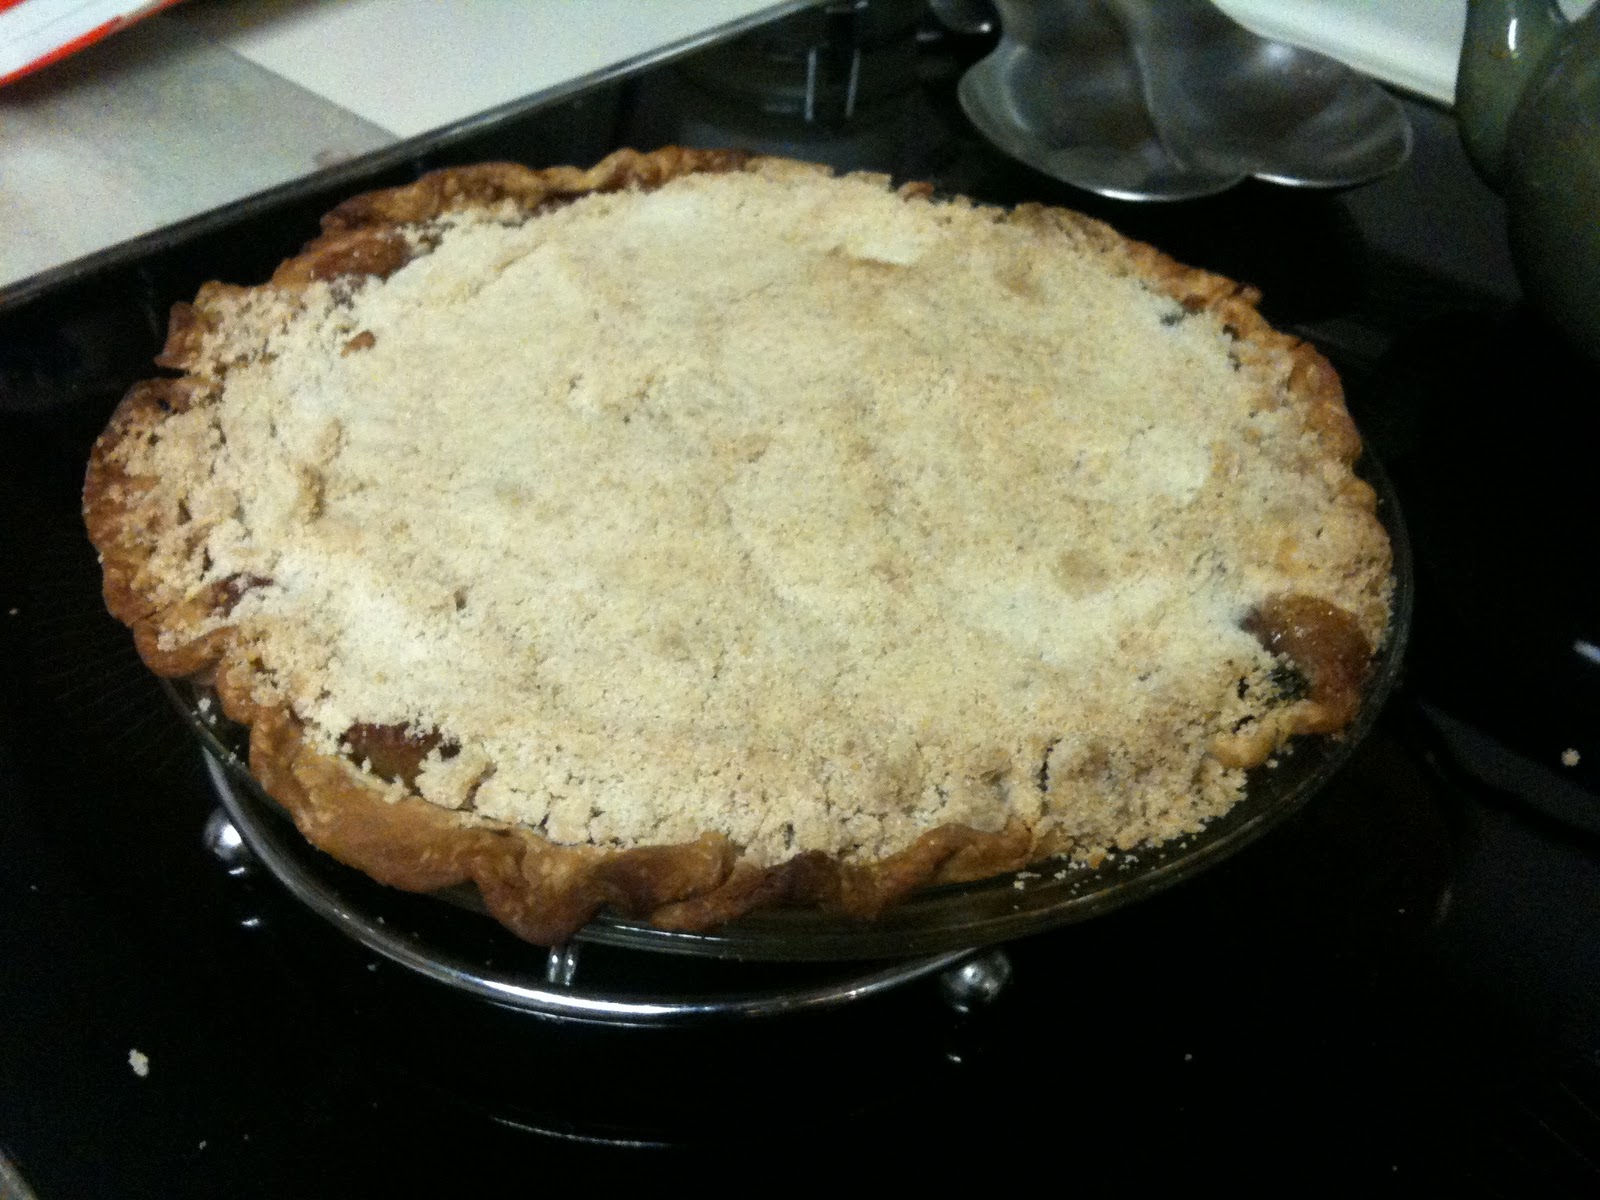
The pie only had to set one for an hour instead of two, so we made the hour mark. It turned out to taste really good. The crust was okay, but not one of my best pies for sure. An interesting side note, if you use pie filling in a pie you do not have to let the pie set as long due to the thickness of the pie filling.

Hello Results: Even if it has the word “easy” in the title of the pie, don’t let it fool you. Don’t over process crumb crust and use a pie pan with handles. I think it would be a good idea to invest in some safety glasses for the fresh juice requirements of pies. I loved spending time with my son and look forward to all the times he will be able to help! Oh, and on second helping it turned out to be ever better cold! That makes three pies! Only 297 to go.
I really need to live closer!!!
ReplyDeleteYum, my mouth is watering. Way to go, Krizty and Tyler.
ReplyDelete